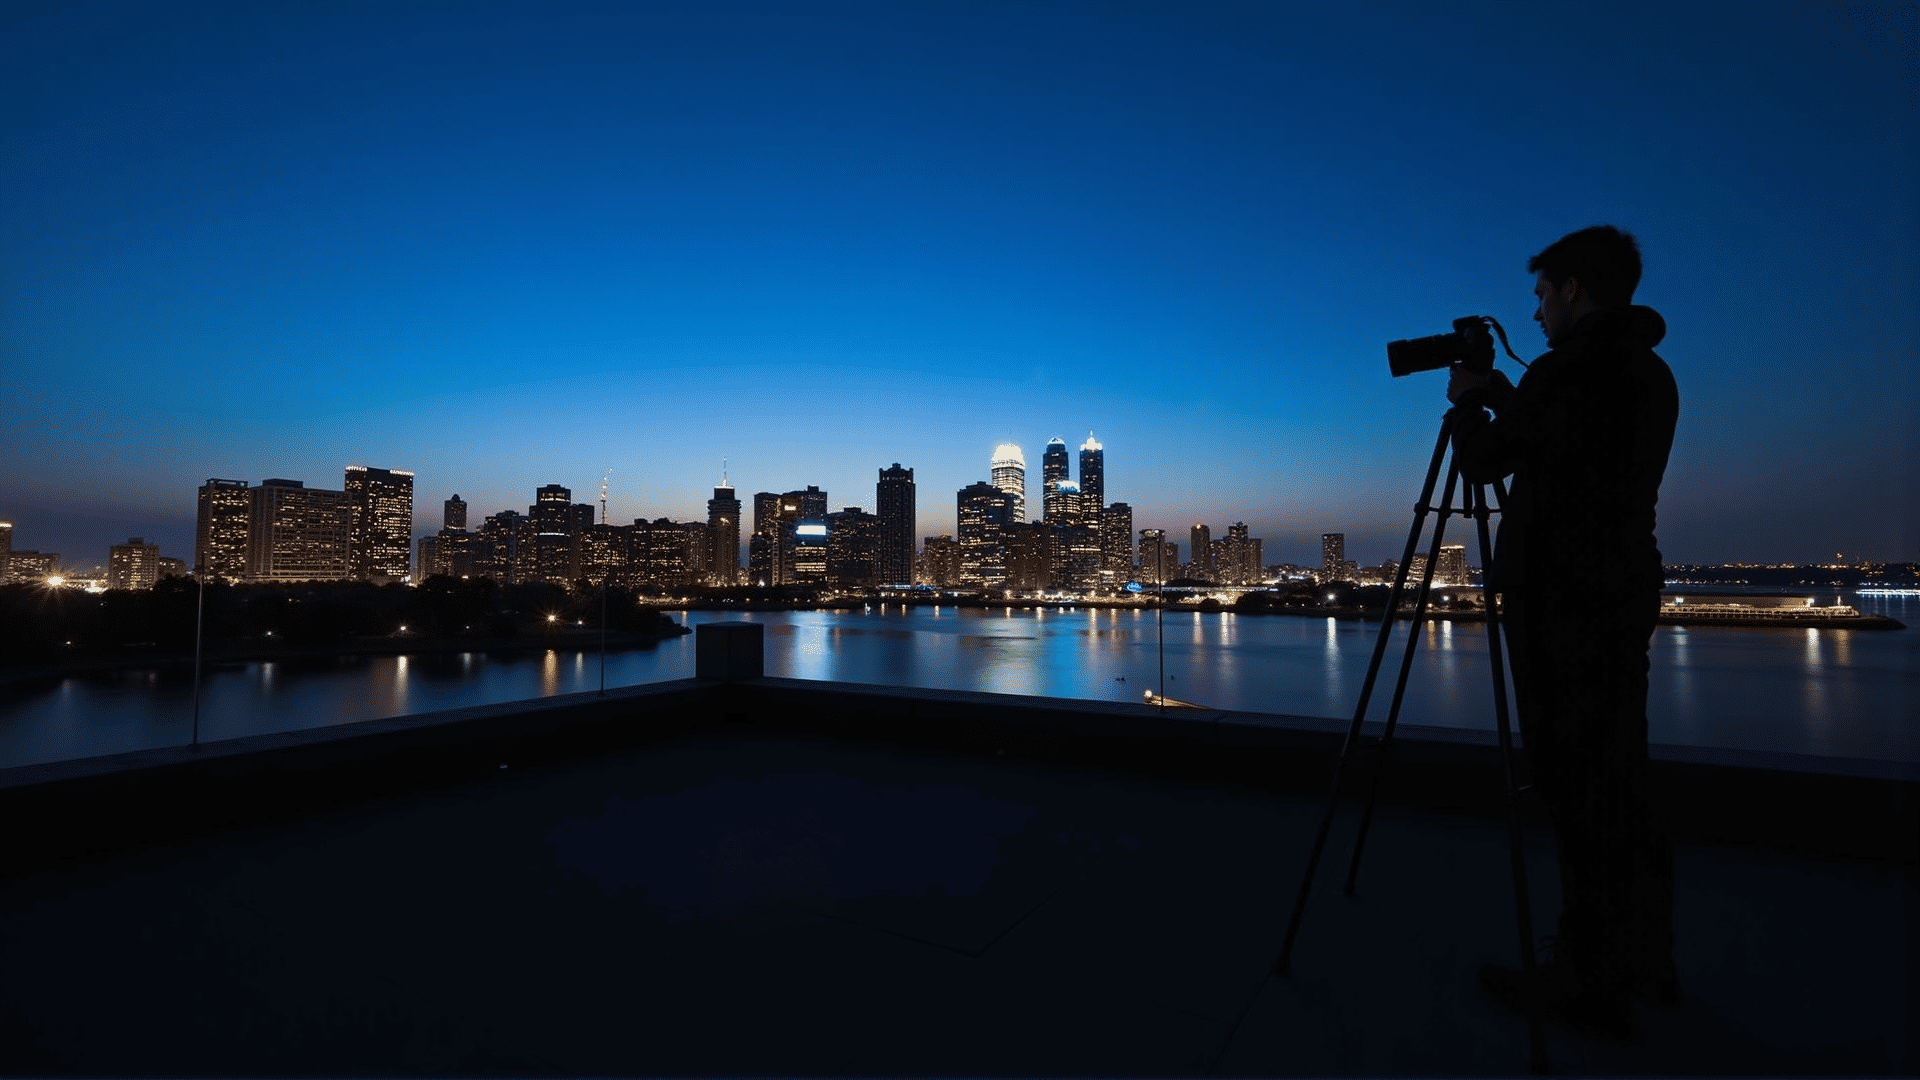
Capturing stunning images in low light conditions presents a distinct challenge even for seasoned photographers. However, with the right techniques and tools, you can transform elusive shadows and dimly lit scenes into breathtaking art. This guide will help you unlock the secrets of low light photography, ensuring you can create evocative and powerful images even in the darkest of settings.
Understanding the Basics
1. Know Your Camera Settings
The heart of mastering low light photography lies in understanding your camera's settings. Familiarize yourself with the ISO, aperture, and shutter speed.
-
ISO: Raising the ISO increases the camera sensor's sensitivity to light. However, higher ISO often introduces noise or grain into the image. Experiment to find a balance that allows enough light capture without sacrificing image quality. Modern cameras perform excellently at higher ISOs, so don't shy away from exploring their limits.
-
Aperture: A wider aperture (a lower f-number) allows more light to hit the camera sensor. This is invaluable in low light conditions. Lenses with apertures of f/1.4, f/1.8, or f/2.8 are ideal for dim environments.
-
Shutter Speed: Slowing down the shutter speed lets in more light, but increases the risk of camera shake. If you opt for slow shutter speeds, consider using a tripod or stabilizing your camera to avoid blurred images.
2. Use a Tripod
In low light photography, stability is critical. Even the slightest movement can result in blurry images. A sturdy tripod provides the steadiness needed for longer exposures, ensuring sharp images. Consider a tripod as an extension of your camera gear, especially when shooting in challenging conditions.
Advanced Techniques
1. Embrace Natural Light
Even in low light, there are often pockets of natural or ambient light that can be utilized. Streetlights, moonlight, and reflections can add a dramatic flair to your images. Position your subject to take advantage of these light sources, creating captivating captures with an artistic touch.
2. Experiment with Exposure Bracketing
When faced with complex light conditions, use exposure bracketing to capture a series of images at varying exposures. This technique allows you to merge the photos later in post-processing, ensuring all elements of your scene are well-exposed. The dynamic range achieved can reveal intricacies otherwise lost in darkness.
3. Post-Processing Magic
Post-processing is an integral part of enhancing low light photos. Software like Adobe Lightroom or Photoshop can help reduce noise and improve clarity. Adjustments in contrast, highlights, and shadows can bring out details and add depth to your images. Embrace the possibilities of post-processing to refine your artistic vision.
Creative Approaches
1. Play with Long Exposures
Long exposures can transform low light scenes into mesmerizing artworks. Capture the motion of stars with astrophotography or create ghostly trails of moving cars in an urban setting. This technique requires patience and experimentation but often results in uniquely compelling visuals.
2. Experiment with Light Painting
Light painting is a fascinating technique where photographers use a moving light source during a long exposure to "paint" in their images. This approach adds a personal and creative element to your low light photography, especially in complete darkness.
Conclusion
Mastering low light photography is a rewarding journey that pushes the boundaries of your photographic skills. With an understanding of your equipment and a willingness to experiment, you can capture the mystery and allure hidden within darkened environments. Embrace the shadows, balance them with light, and transform your vision into stunning photographic masterpieces. Remember, every shadow has a highlight — all it needs is your artistic touch to bring it to life.
